The grinner knot is one of the most flexible knots used in angling for attaching line to an eyed hook, swivel or lure. It has a substantial wet knot strength of over 90 percent of the original line breaking strain. It is particularly effective when using worm baits at the trimmed tag end lies parallel to the trace or main line which helps prevent the bait from bursting. It is when using monofilament or braided lines although there is a school of thought that other knots work more efficiently when using fluorocarbon. Despite what many websites and paper publications say the grinner and Uni knots are not the same knot.
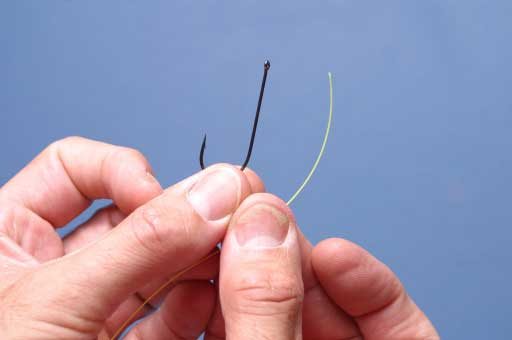
Select your hook length or main line and hook, swivel or lure.

Thread the line through the eye and double back on itself, leaving a good length to work with.

Make four to six turns around the main line, the thicker the line the fewer turns that are required.

Bring the tag end back towards the eye and form a loop.

Wrap the tag end around the main twisted section of line forming a matching number of turns the to initial wrapping.


Apply saliva and pull gently on the tag end to start to tighten the coils.


Slide the moistened coils into place using the thumb and forefinger while pulling on the main line.


Trim off the tag end tight to the knot.

The finished, neat and secure knot.