At the expense of a little time and imagination, many everyday household discards can be turned into surprisingly effective items of fishing end-tackle. Take for example the tops/bases from large soup or pie tins that get binned without a second thought. These can provide the base material for making excellent light flasher spoons, also known as flutter spoons, for boat fishing.

Pukka machine-pressed metal flasher/flutter spoons normally come in nickel/chrome, coloured or hammered finishes, and are far from cheap. They tend to be around five inches long, and either flat-bodied, or slightly concave in shape. As a rule, shop-bought versions are fairly heavy; which can be a problem as they can quickly snag if used over rough ground. Stumpy shaped flasher spoons like the Delta Sonar and discontinued ABU Rauto are commonly associated with plaice fishing over mixed and clean ground. More elongated shapes, that are arguably less species-specific, are more often used in situations where tackle loses can be expected. A lightweight fluttering spoon is preferred for rough ground situations for particularly cod and ling in the normally clear waters around Ireland and Scotland; where a lot of fishing takes place on the drift. These lighter flashers flutter tantalisingly over more aggressive seabed features, and they are less inclined to snag.
In a flash
Any shape can easily be cut from a suitable piece of old tin can or similar, using tough scissors. A source of ideal material for flasher spoons is the bases of baby milk tins. Much lighter spoons made from the sides of drinks cans sometimes work when there is little tidal force to work heavier spoons. The big problem with particularly very lightweight spoons is that a decent fish can pull free by ripping the split ring through the edge of the blade. This can be countered by installing a wire runner along the back of the spoon between the split rings. The security wire ensures a fish can’t tear free, and there is the added attraction of built-in rattling noise that this wire provides.
Home-made flashers made from baby milk tins and the like, do rust in saltwater but they can be revitalised with a little bit of effort. I have a few trusty old flashers that are years old. These remain serviceable as long as they are dried after use, and given a quick buff with steel wool and metal polish. Deliberately heavy bar spoons of generally the same ilk made of metal plate and stainless steel banding are used to great effect by ling anglers around Orkney and Shetland. And some top English match anglers put considerable faith in a big old flutter spoon behind their bait for congers.
Follow the picture sequence below to make the basic flutter spoon

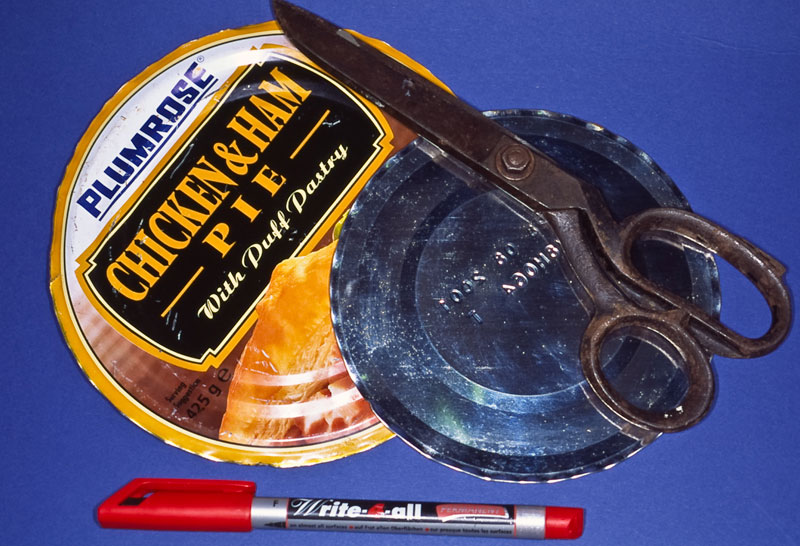
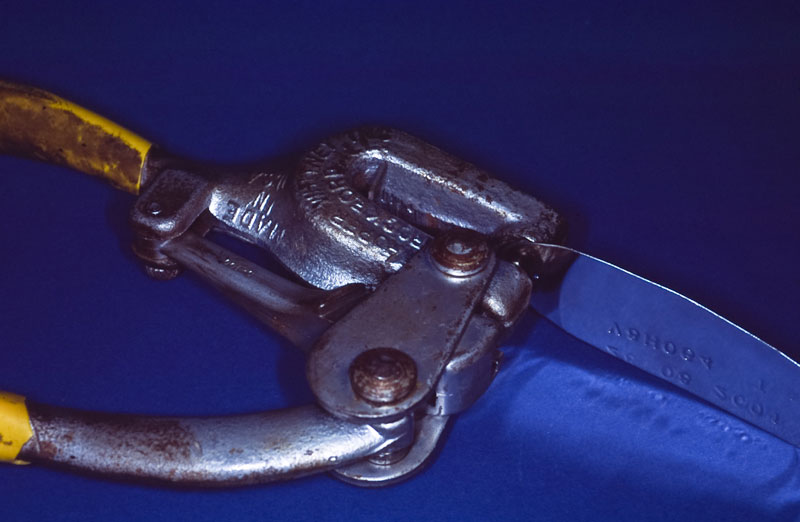
The main things needed are the base from any throw-away tin, an indelible pen and a strong pair of scissors for shaping the spoon. Baby milk tins provide a wealth of material for making light flutter spoons

Any existing spoon can be used as a guiding template. Alternatively you can shape and keep your own template for on-going use

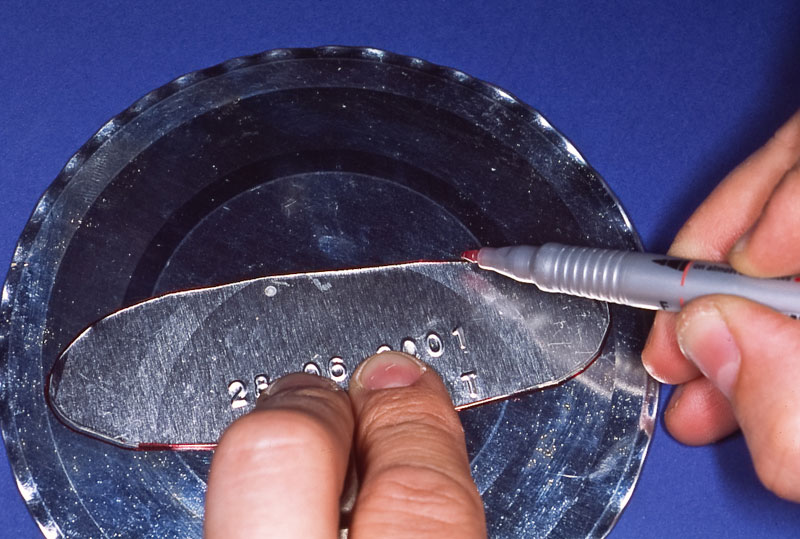
Place your template on the tin base and draw around it with the indelible pen. Press the template down firmly to ensure that it doesn’t slip while doing this
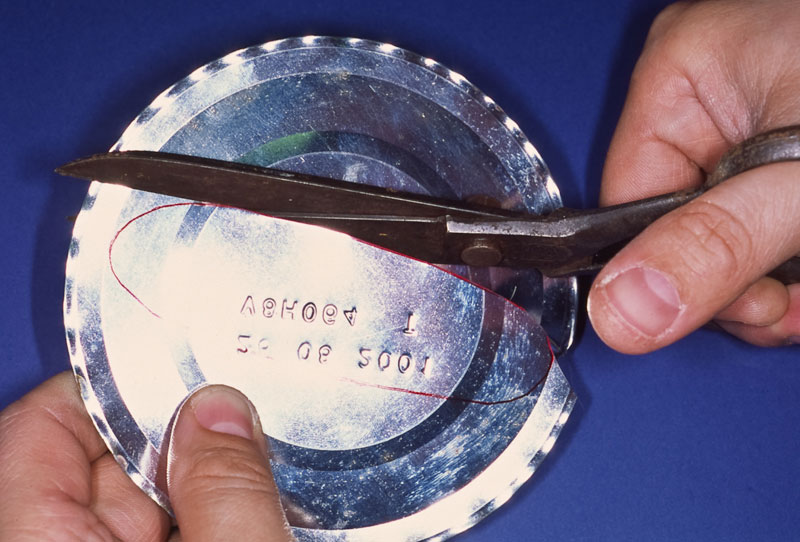
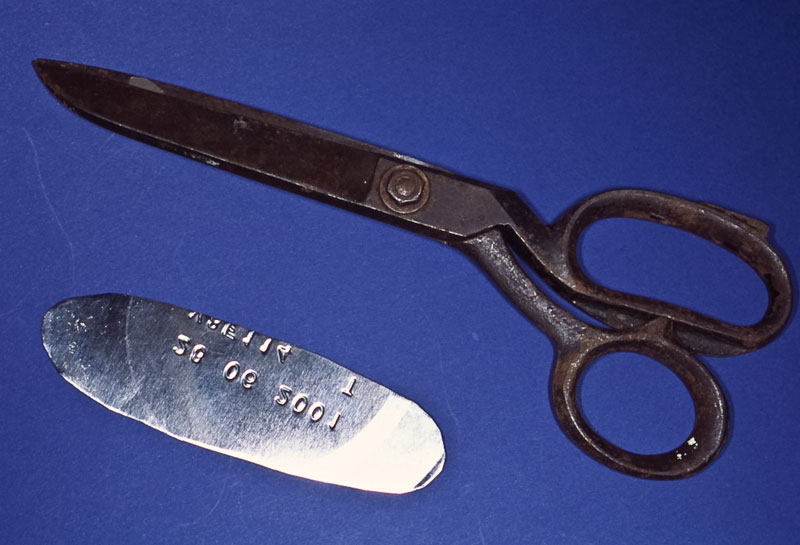
Use the scissors to neatly cut around the penned outline. Take your time, and be careful of those sharp edges. Good tin scissors make light work of the job

The spoon now has a basic shape but there is still work to do

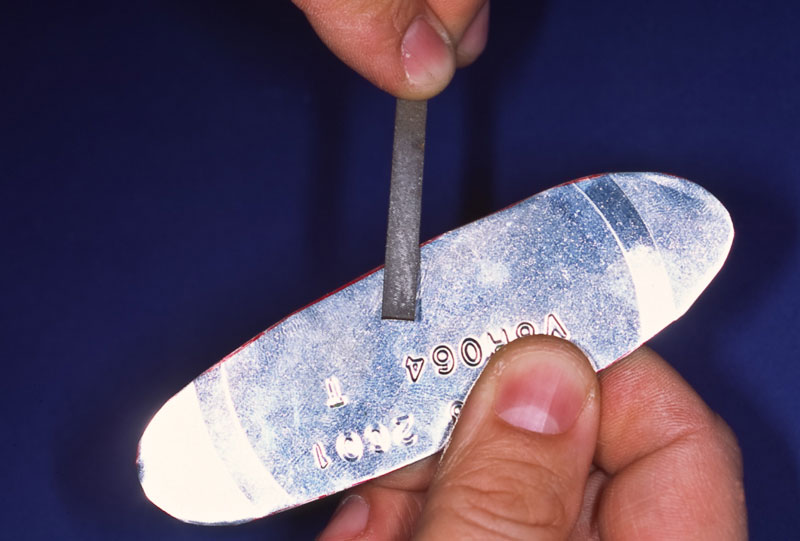
It is a good idea to smooth off any nasty sharp edges with a small file
Use a drill or a sheet metal punch like that seen here, to form holes at each end for split rings and swivels
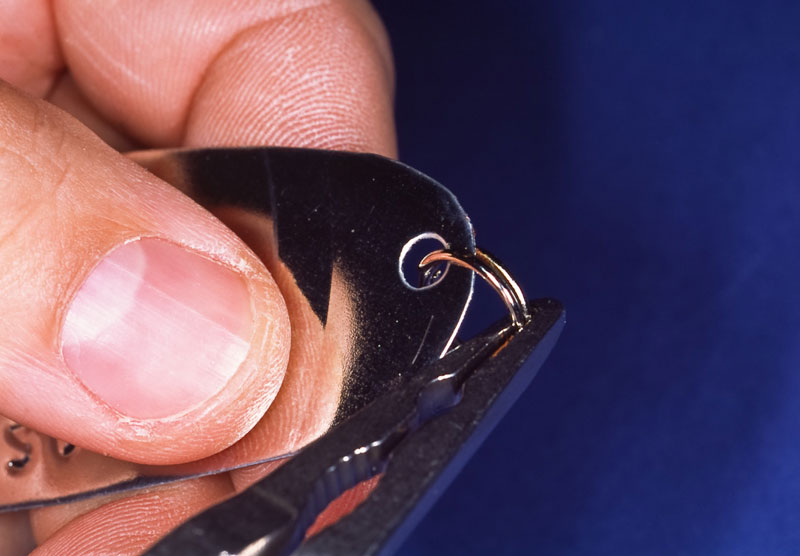
Fit split rings to either end of the spoon. Proper split ring pliers are helpful but not essential
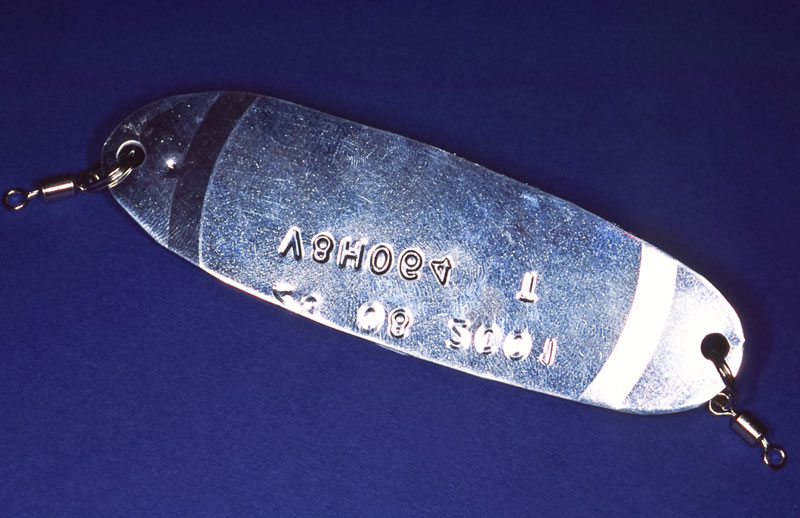
Finish the job off by slipping a swivel onto each split ring