Planet Sea Fishing’s resident kayak-head Neil Turnbull explains the essential first steps that must be undertaken and mastered before entertaining the notion of a fishing trip
The long awaited day has finally arrived. You’ve spent the last few weeks gathering together all the essential equipment, and now you can’t wait to get out there. So what’s the next step? Well, the simple but stern message has to be not to try and run before you can walk.
For some, taking to sea on a lump of plastic no wider than your garden path might be a madcap and frightening thought. Others, perhaps more familiar with the sea will take the challenge in their stride. But regardless of how confident you are there are a few important things to absorb before you put to sea.
The most important thing to take with you on your maiden voyage is company in the form of an experienced paddler. Then, with a bit of experience under your belt, it is possible to go it alone. But be warned, you should never go solo for your first few trips.

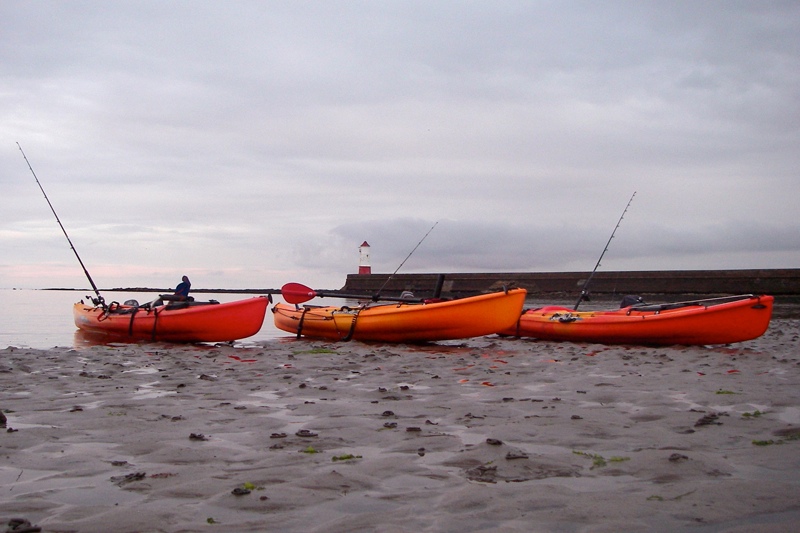
To start, find a sheltered bay, a quiet estuary, or even a freshwater lake or loch. If you choose a tidal venue make sure you pick a neap tide and ideally go there over the slack water period. Wind can be a bit of a pain to combat as well, so if possible, pick a day with light winds. Try to get as many of these conditions on your side as you can. You will find it will make things much easier early on. You’ll soon get a feel for the equipment and become more confident. Once confidence and knowledge builds, you will quickly find yourself looking for more challenging and adventurous venues.
Ready for action
You’ve found your starter venue and you are suitably kitted out. Remember the Personal Floatation Device (PFD) and make sure it is properly adjusted. Also ensure that all safety kit is properly stowed, and, where necessary, attached to your PFD (see previous ‘Yakity-yak’ feature). You are now ready for action.
Don’t be too eager or ambitious on your first trip. For now, the best place to stow your fishing gear is at home or in the back of the car. You‘ll have more than enough to concentrate on in the immediate term without having to disgorge Hokkais from your new dry suit! There’s also the small but essential matter of contacting the Coast Guard before you set off. I’ll cover this subject in a bit more depth later, but for the time being we’ll assume the call has been made.

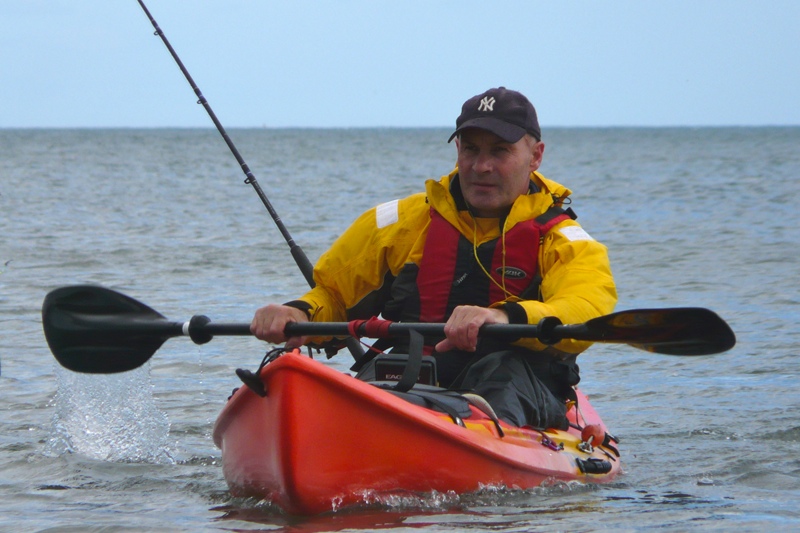
Get yourself afloat and paddle around to familiarise yourself to the kayak’s stability, handling characteristics and general feel on the water. Get your mate to show you a few basic paddle strokes: forward going, steering and support. Once you’ve mastered a few basics and built up a bit of confidence it is time to practise your first re-entry drill.
Being able to comfortably climb back on top should you fall out, is a pre-mandate before tackling the open sea. It’s not difficult, and some people find that they can do it on their first attempt. For others it may take a little more time, and it is just a case of adopting an efficient technique that suits.
First, you need to test the limits of your kayak’s stability by deliberately up-ending yourself and capsizing it. Make sure everything in the tank well and on the deck is securely leashed down. Keep a firm hold of the paddle and lean over until you pass the point of no return… I’ll wager that you’ll be surprised just how difficult it actually is to capsize the craft.
Belly, bum, boots: How to re-mount your kayak

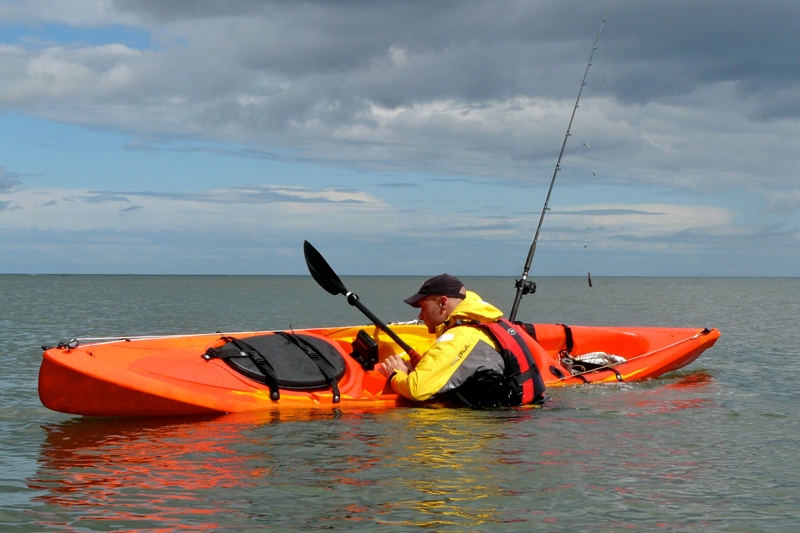
Fig 1: Having qualified that your kayak is in fact a very stable piece of equipment, if everything has worked out okay you should be floating upright in the water, with a grip on the paddle, which is of course leashed to your Kayak. Get back alongside the Kayak, reach over the upturned hull, and grab the far side. Now using your body weight, pull the kayak back over towards you – it should flip back over to the upright position. You are now ready to perform the re-mount/re-entry drill. There are various documented methods of getting back on/in your kayak, but the quickest and most commonly used technique is nicknamed ‘Belly, bum, boots’.
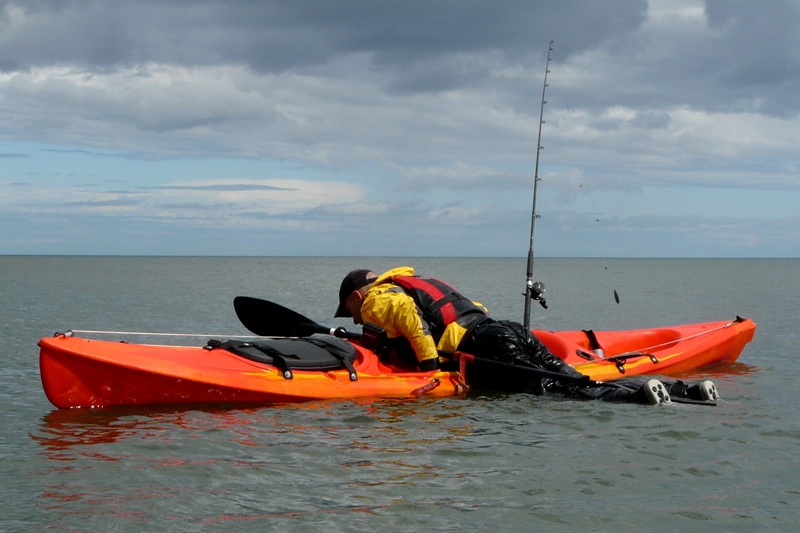
Fig 2: With the paddle in one hand, or secured on a deck line, grab hold of the side of the kayak, you need to be level with the seat at this point. Allow your feet to float up in the water, and keeping a firm grip on the kayak give a good powerful kick. You should propel yourself forwards, and ideally your belly will land in the Kayak seat.

Fig 3: Now keeping your centre of gravity as low as possible, swivel your body round to put your bum into the seat.
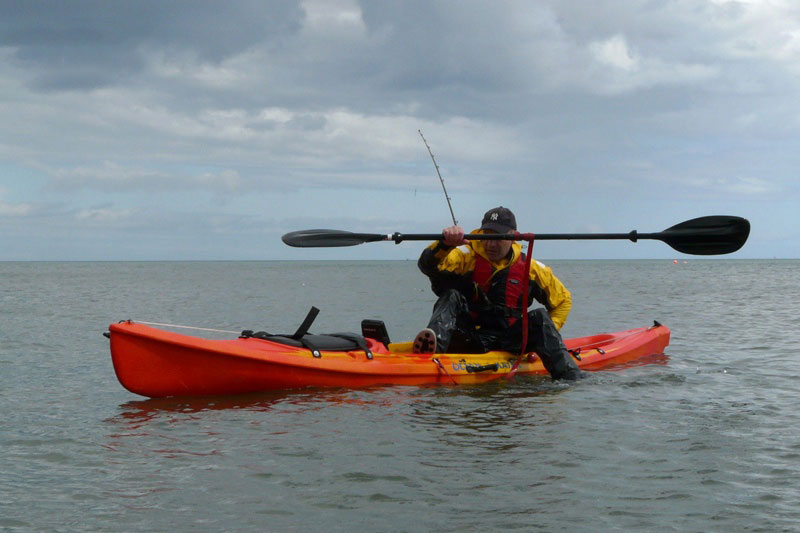
Fig 4: You can now simply swing your legs round, and put your boots into the foot wells. Hence the phrase ‘Belly, bum, boots’.

Fig 5: Job done. Once you’ve successfully completed the re-mount/re-entry, do it again, this time from the other side. Keep practicing, and remember if you have to do it for real, the chances are it will not be in such favourable conditions. More likely your kayak will be laden with tackle and fishing rods; surf will be breaking over your head and the wind will be trying hard to blow you back off. You’ll find it’s not quite so easy to perform in these conditions. Once you become more confident, practice your re-entries in more challenging conditions as well. But while practicing, do not intentionally jump overboard unless there’s someone competent there with you to assist.
With that lot mastered and a bit of paddle practice under your belt attention can be turned to fishing.
Coastguard notification
First go online and register your craft using the CG66 scheme. It’s free and it only takes a few minutes to complete. Thereafter it is good idea to knock up a simple paddle plan document on your PC. This should be filled out with basic trip details. Information should be concise and include the likes of the number of people in party, venue, weather, tides, ETA back on shore, and of course, your CG66 registration number. It’s also a good idea to leave a copy of your paddle plan with a shore contact as well.
Take it as read that Coast Guard must be informed either by radio or telephone each time you put to sea. The CG recommends that anyone putting to sea in a small craft should communicate trip details.
* Next time, Neil takes a look at basic fishing equipment for the kayak angler.