Correctly judging the amount of expensive braided line required to fill a reel is a source of frustration for a huge number of anglers, but you don’t have to be a magician to call this right. There is in fact a very simple way to get it spot on every time, as Davy Proudfoot shows here.
Getting a reel spooled with the correct amount and profile of line is a task which frustrates many anglers who are not fortunate enough to have an unlimited supply of expensive braid, or either two identical reel spools or indeed reels of the same capacity. However with the help of an empty spool or coke bottle of two, anyone can produce a correctly filled fixed spool or multiplier reel. This tutorial shows the procedure for filling a fixed spool reel but the process can also be applied to any multiplier reel.
The first step is to choose your braid for the ‘top shot’. I use Daiwa Accudepth braid for most of my reels. The reasons for this are several fold: firstly the braid is among the very best (although not the cheapest), and the round profile ensures excellent profiling on the spool. In addition, the measured markings allow the angler to easily split the line over two or three reels.


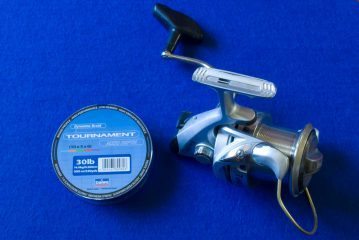
Although it may seem like a good idea to use thick diameter nylon as backing line under the braid, this will not provide the best profile and it is better to use a decent quality soft and fairly low diameter line for the backing. This will ensure a better line lay, resulting in a smooth casting profile on the filled spool. My favourite mono for the purpose is Ande Tournament but any of the soft, quality line will suffice.
Working in Reverse
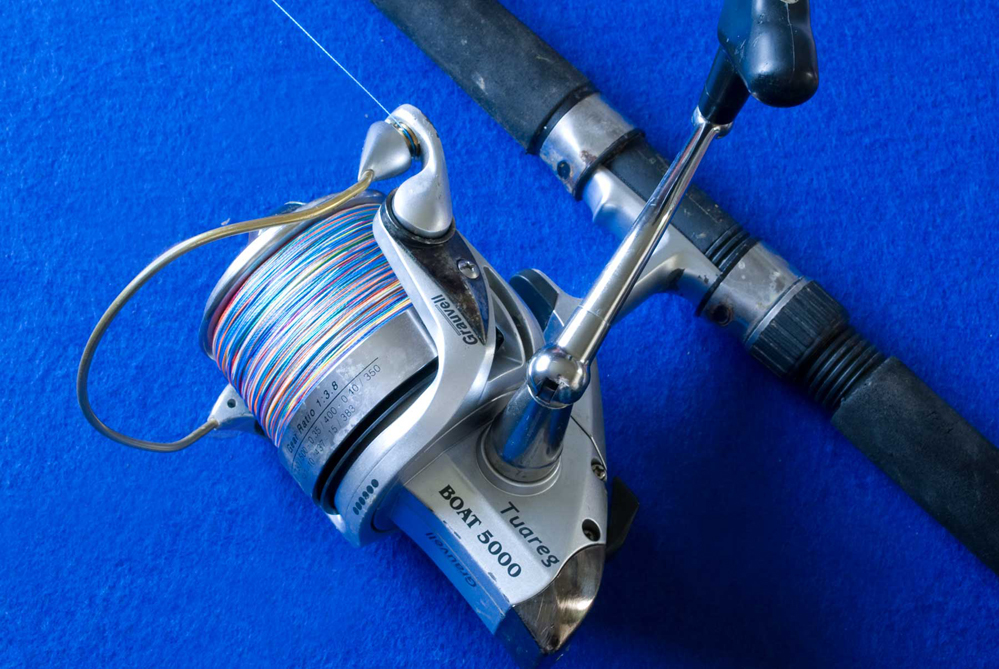
Once the braid and backing have been selected, the braided line should be wound onto the empty reel spool first; the tutorial example uses 150 metres of the braid by counting off the marked colours on the Accudepth. Next, the backing is attached to the braid with an Albright or J knot, and the line loaded to the safe casting level. It’s recommended to slightly under fill the spool if using braid for casting to help prevent wind knots. The reel used here provides a great line profile on its own but with some reels it may be necessary to hand profile the line and any high or low spots should be noted at this stage.


If you have a second identical reel then the task is completed by simply winding the backing and braid onto the empty reel. Many people won’t have a spare reel for the purpose, so there are two methods which can be used to reverse the line. The line can be wound off onto a second reel with an equal or larger diameter spool which leaves the braid on top and the backing below. A third empty reel can then be used to bring the backing back to the outside before re-filling the target reel.
Driller Filler
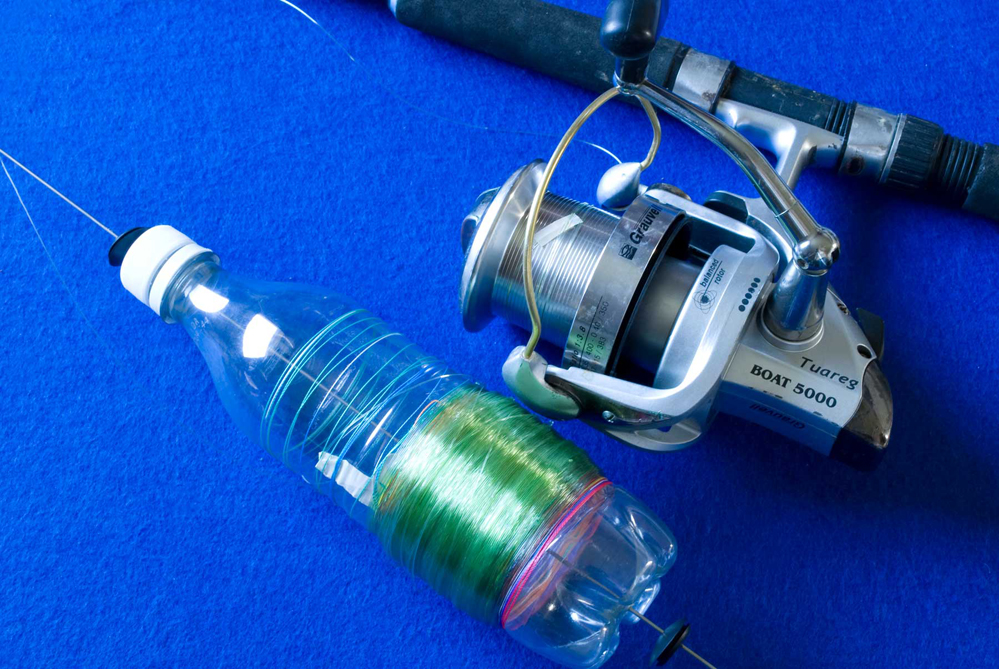
In the absence of spare reels and spools there are simpler and quicker ways to reverse the line. Using the drinks bottle method of line-stripping – as described in a previous tutorial – is perhaps the most effective way of working with the line, but an empty spool with a centrally secured bolt will also do the job.


Attach the empty spool or adapted drinks bottle to a battery powered drill, and then strip the line from the reel. Once the braid is back on top, swap the spool or bottle for an empty version and re-wind the braid and backing onto this container.

You should now have the bottle or spool with the backing on top and the final task is to rewind the line back onto the original reel, hand profiling the backing nylon if necessary before attaching your leader length. You may wish to secure the backing with tape as shown here.

This procedure can also be used effectively for a nylon-on-nylon top shot or a braid on nylon one.


